In this example we will make FileTrain watch a folder. PDF files will be moved to a PDF preflight workflow, InDesign and Quark documents will be moved to a folder for manual review, images will be moved to a FTP server for further handling and all the other files will be moved to a folder for manual handling.
The components we need to do this are;
- Source: A folder source that will watch the folder.
- Filter: A file filter to recognize PDF files.
- Filter: A file filter to recognize InDesign and Quark documents (note! one filter for both).
- Filter: A file filter for the image types that we want to transfer to FTP server.
- Filter: A file filter to catch all the files that are not recognized by the filters above.
- Action: A move action for the PDF files.
- Action: A move action for the InDesign and Quark documents.
- Action: A FTP action to send images to FTP server.
- Action: A delete action which will delete the local image when it has been uploaded to the FTP (note! if we don't delete the file it will be handled by the 'all files' filter and will be moved to the manual handling folder).
- Action: A move action for all the rest of files.
The only source we need is a folder source. In our example the folder /workflow/in will be scanned. All detailed settings for this source can be viewed in image 4.1-1.
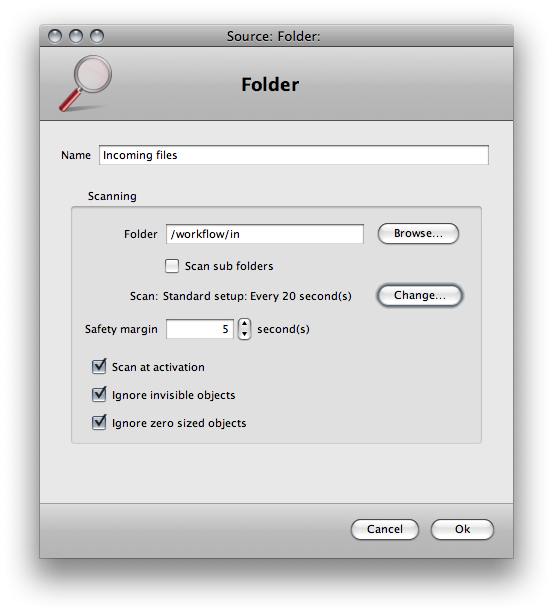
The source settings for the incoming files.
Image 4.1-1 Source settings for incoming files.In this example we need four different filters. The last filter is to catch all the remaining files which has not been caught in the other three filters. We will be able to use two of the default filters in FileTrain, the one to catch PDF files (*** PDF document) and the last filter which will catch all the remaining files (*** All files). The images below shows the settings for the four filters.
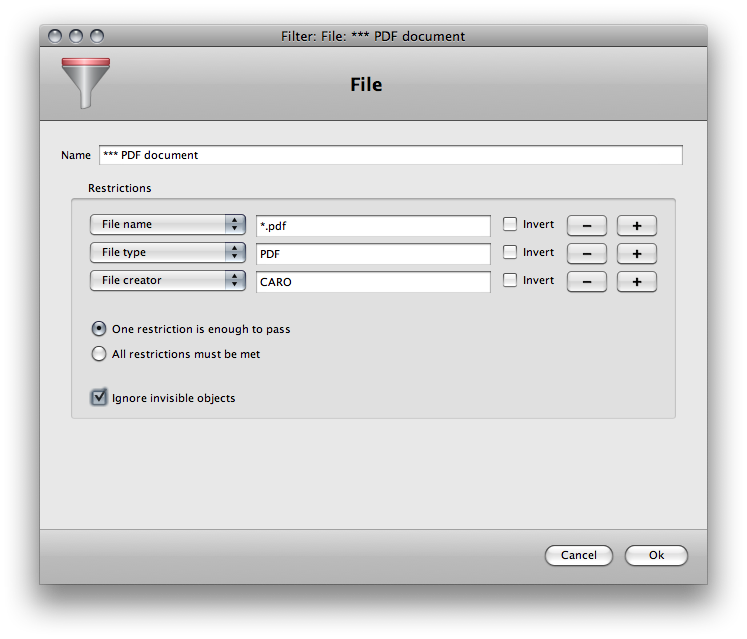
This filter is a default pre-built filter in FileTrain. Among the restrictions there are some old Macintosh restrictions. Be careful with the restriction criteria below the restriction list if using more than one restriction, in this example only one restriction is needed.
|
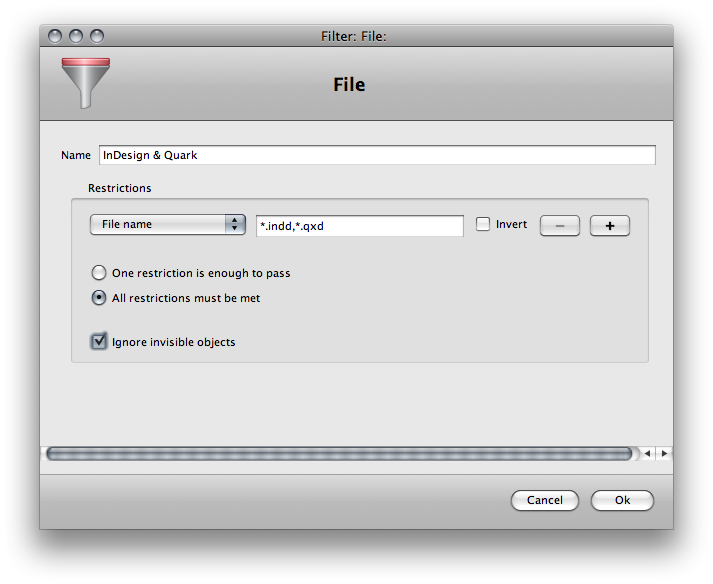
Note that if the file name restriction is a comma separated list any of the file names are valid for the filter to pass a file even if the restriction criteria is set to 'all criteria must be met'.
|
| Image 4.1-2 Filter settings for PDF documents. |
Image 4.1-3 Filter settings for InDesign and Quark documents. |
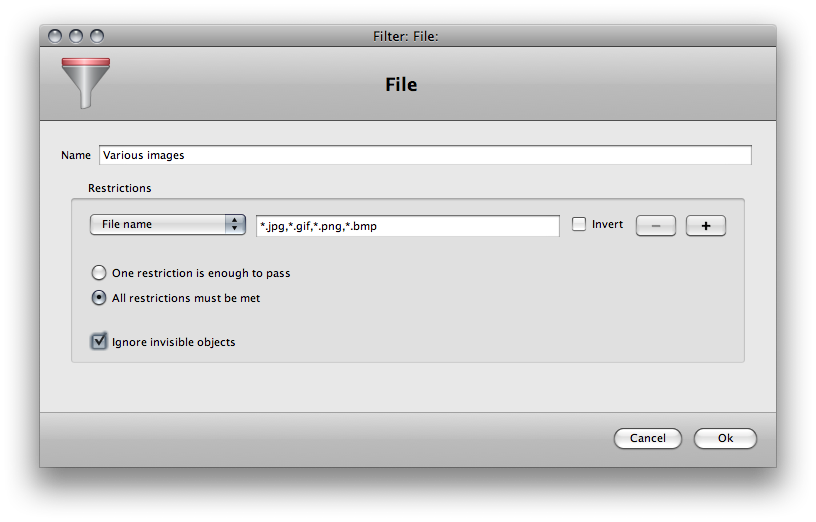
This filter will take the files with the file extensions that we have added.
|
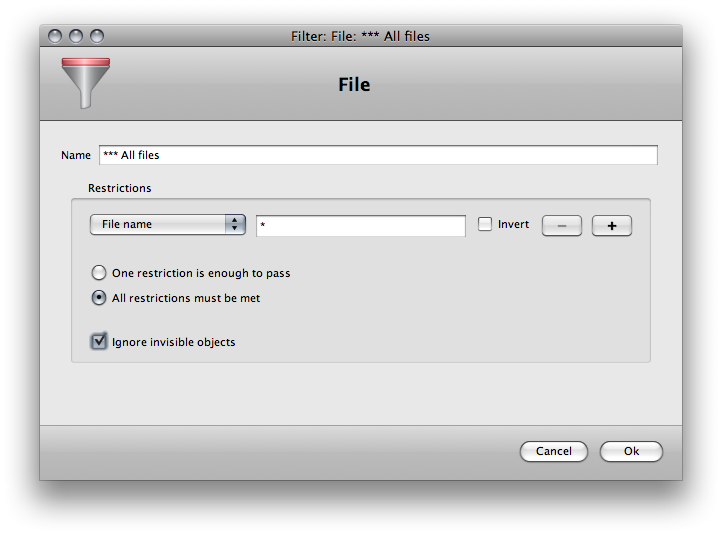
This is the pre-built filter that will recognize all the files. Normally this filter is the last of the filters in a station.
|
| Image 4.1-4 Filter settings for images. |
Image 4.1-5 Filter settings for 'all files'. |
In this example we will need five actions, four obvious ones and one delete action after the FTP upload action since we don't want to save the images on the local drive after the upload. The settings for the actions are seen in the images below.
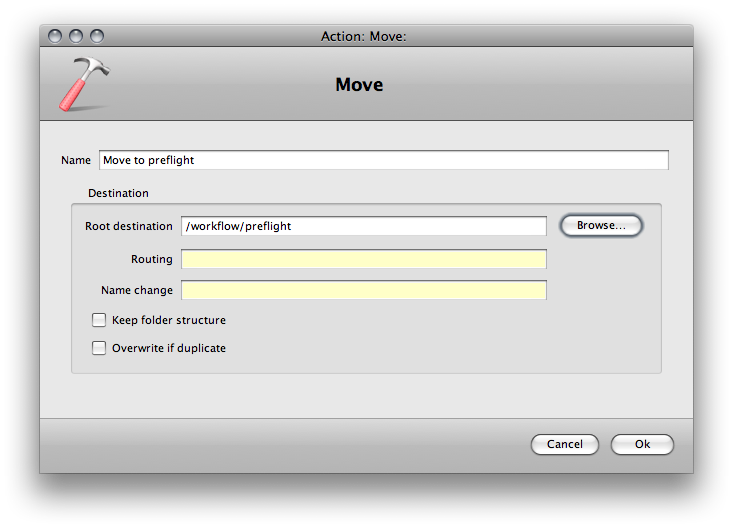
This action will move the object to a preflight folder.
|
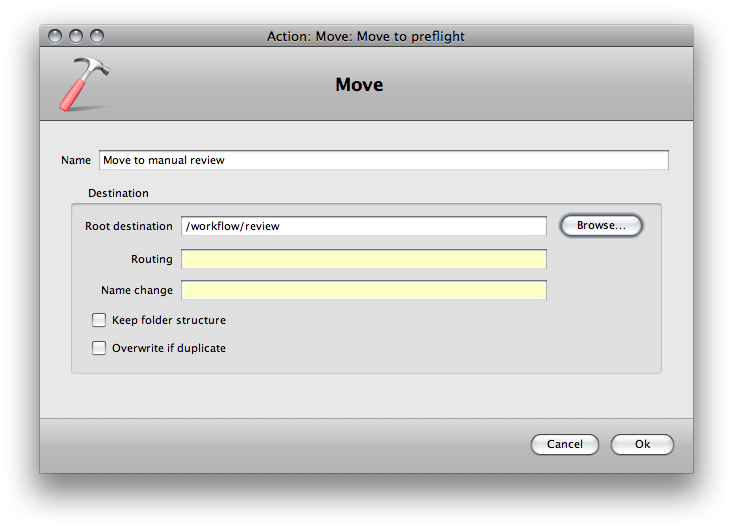
This action will move the object to a folder where InDesign and Quark documents will be manually reviewed.
|
| Image 4.1-6 Action settings for the move of PDF documents. |
Image 4.1-7 Action settings for moving InDesign and Quark documents. |
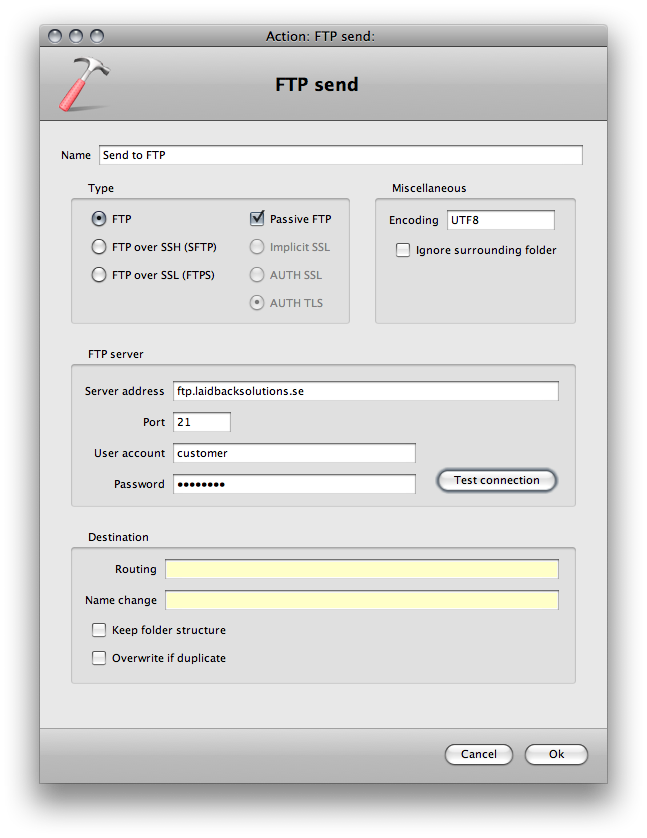
This action will send the objects to a remote FTP server.
|
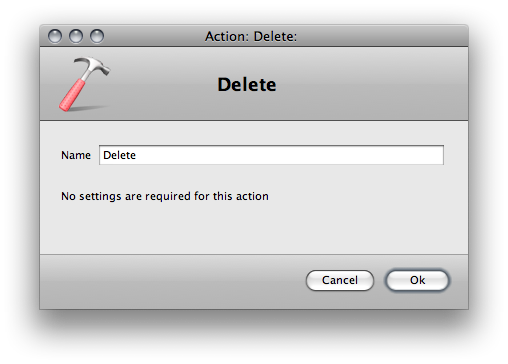
This action is set to delete the object. No special settings are required.
|
| Image 4.1-8 Action settings for FTP sending. |
Image 4.1-9 Action settings for deletion. |
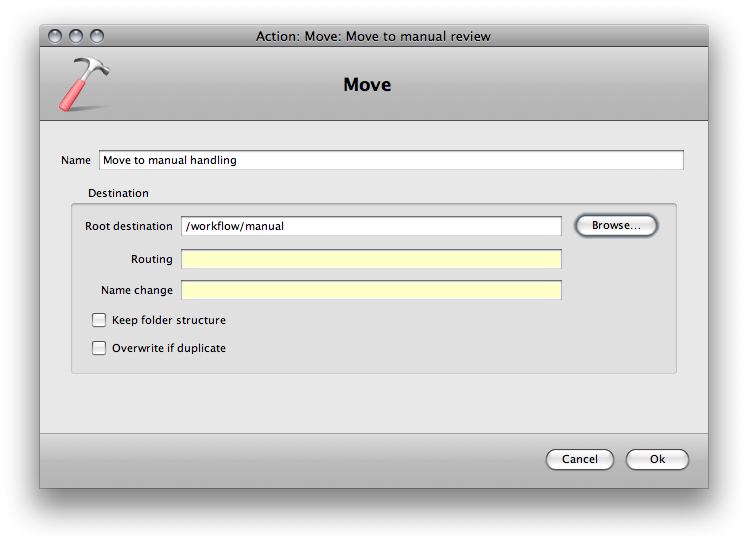
This action will move the objects to a folder for manual handling.
|
| Image 4.1-10 Action settings for moving remaining files. |
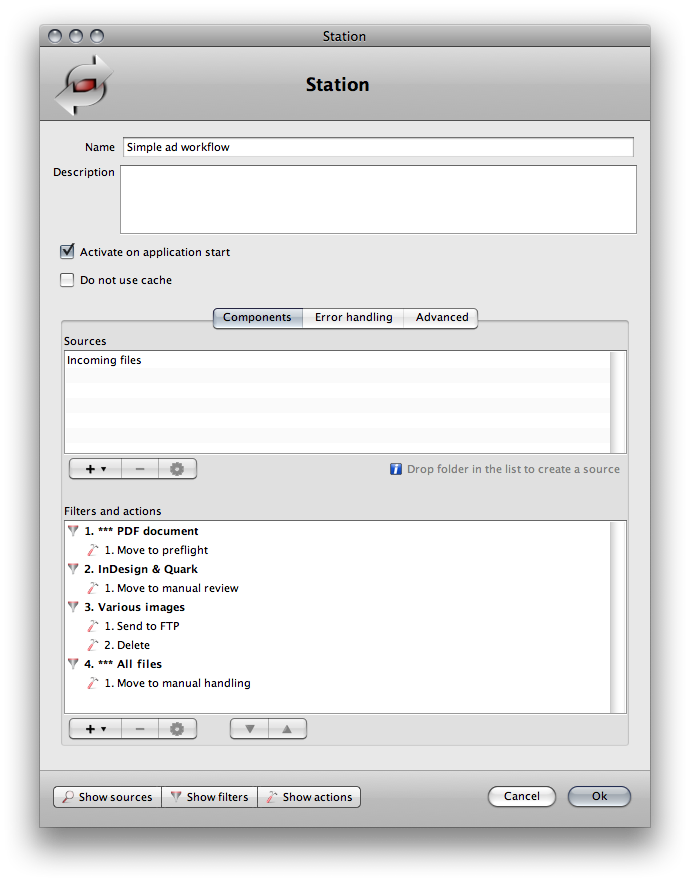
When all the components above are created they are put together in the station, see the images below for information about the settings.
The actions for the PDF filter.
Image 4.1-11 Station component settings.
In various situations you may want to get some portions of a XML file, e.g. inserting some IPTC information in image files where the information is from a certain tag in a XML file.
Such extraction of data is possible with the help of some macros in FileTrain.
From FileTrain version 6.4 it is possible to get XML content using XPath expressions. This method is the preferred and to use this, see the macros XPATH and XPATHLIST in the macro session for more details.
Before FileTrain version 6.4 you could use the following technique to get hold of the XML but this was only useful in more simple XML files. You should use the macro XPATH to get information from a XML.
To be able to get data from a XML file you will need to calculate the location and name of the xml file. This may be a static location or some location calculated from the file that is currently processing in FileTrain. In this example we assume that the xml file is located in the same folder as the file that is being handled (e.g. if an image file and xml file both are located in the same folder and the image file is handled).
This extraction is only possible if the XML structure is fairly simple. If the tag name is present several times this may be a problem but if the tag is only present once this example will work fine.
We assume that the information we look for is located between the start tag <name> and the end tag </name>. To get this information we will use the following macro text:
%FILE_CONTENT[%FILE_PARENT_PATH%/%F%.xml,UTF-8,%MATH[+,6,%INDEX_OF[%FILE_CONTENT[%FILE_PARENT_PATH%/%F%.xml,UTF-8]%,<name>,0]%]%,%INDEX_OF[%FILE_CONTENT[%FILE_PARENT_PATH%/%F%.xml,UTF-8]%,</name>,0]%]%
In the macro above there are three locations (red text above) that are important depending on the tag start and tag end. Two of these locations contain the start tag and the end tag. The third location (the number 6 above) is the number of characters found in the start tag (<name> contains six characters).
In this macro the path to the xml file is found in many places, the path is %FILE_PARENT_PATH%/%F%.xml which is the same path as the currently handled file with the xml extension.


